WHAT YOU WILL NEED
CLICKER
Do you need it? No, but it can speed up learning if used correctly. If you want to geek out on training, this is for you. If not, skip it.
TREAT POUCH
A treat pouch is a great way to make sure you have treats when you need them. Leave it next to your leash and you will be set!
LEASH
A good 4-6ft leash is a staple in dog training. Leather leashes are much gentler on the hands than most other materials.
TREATS
Bil-Jac makes a variety of amazing soft treats (the dogs agree) and these are no exception. Great for dogs that love liver treats!
NOTE: All products have affiliate links, which means I earn a small commission on each item purchased from the links. I appreciate your support and wish you happy training!
OVERVIEW
“Place” is one of my favorite commands because it makes everyday life with your dog so much easier, particularly if you have a dog that tends to be underfoot a lot or to be in the middle of the action. “Place” tells your dog to go to a specific spot (usually their bed) and stay there until given the release word (i.e. “break”).
Phase 1: Teach the Behavior
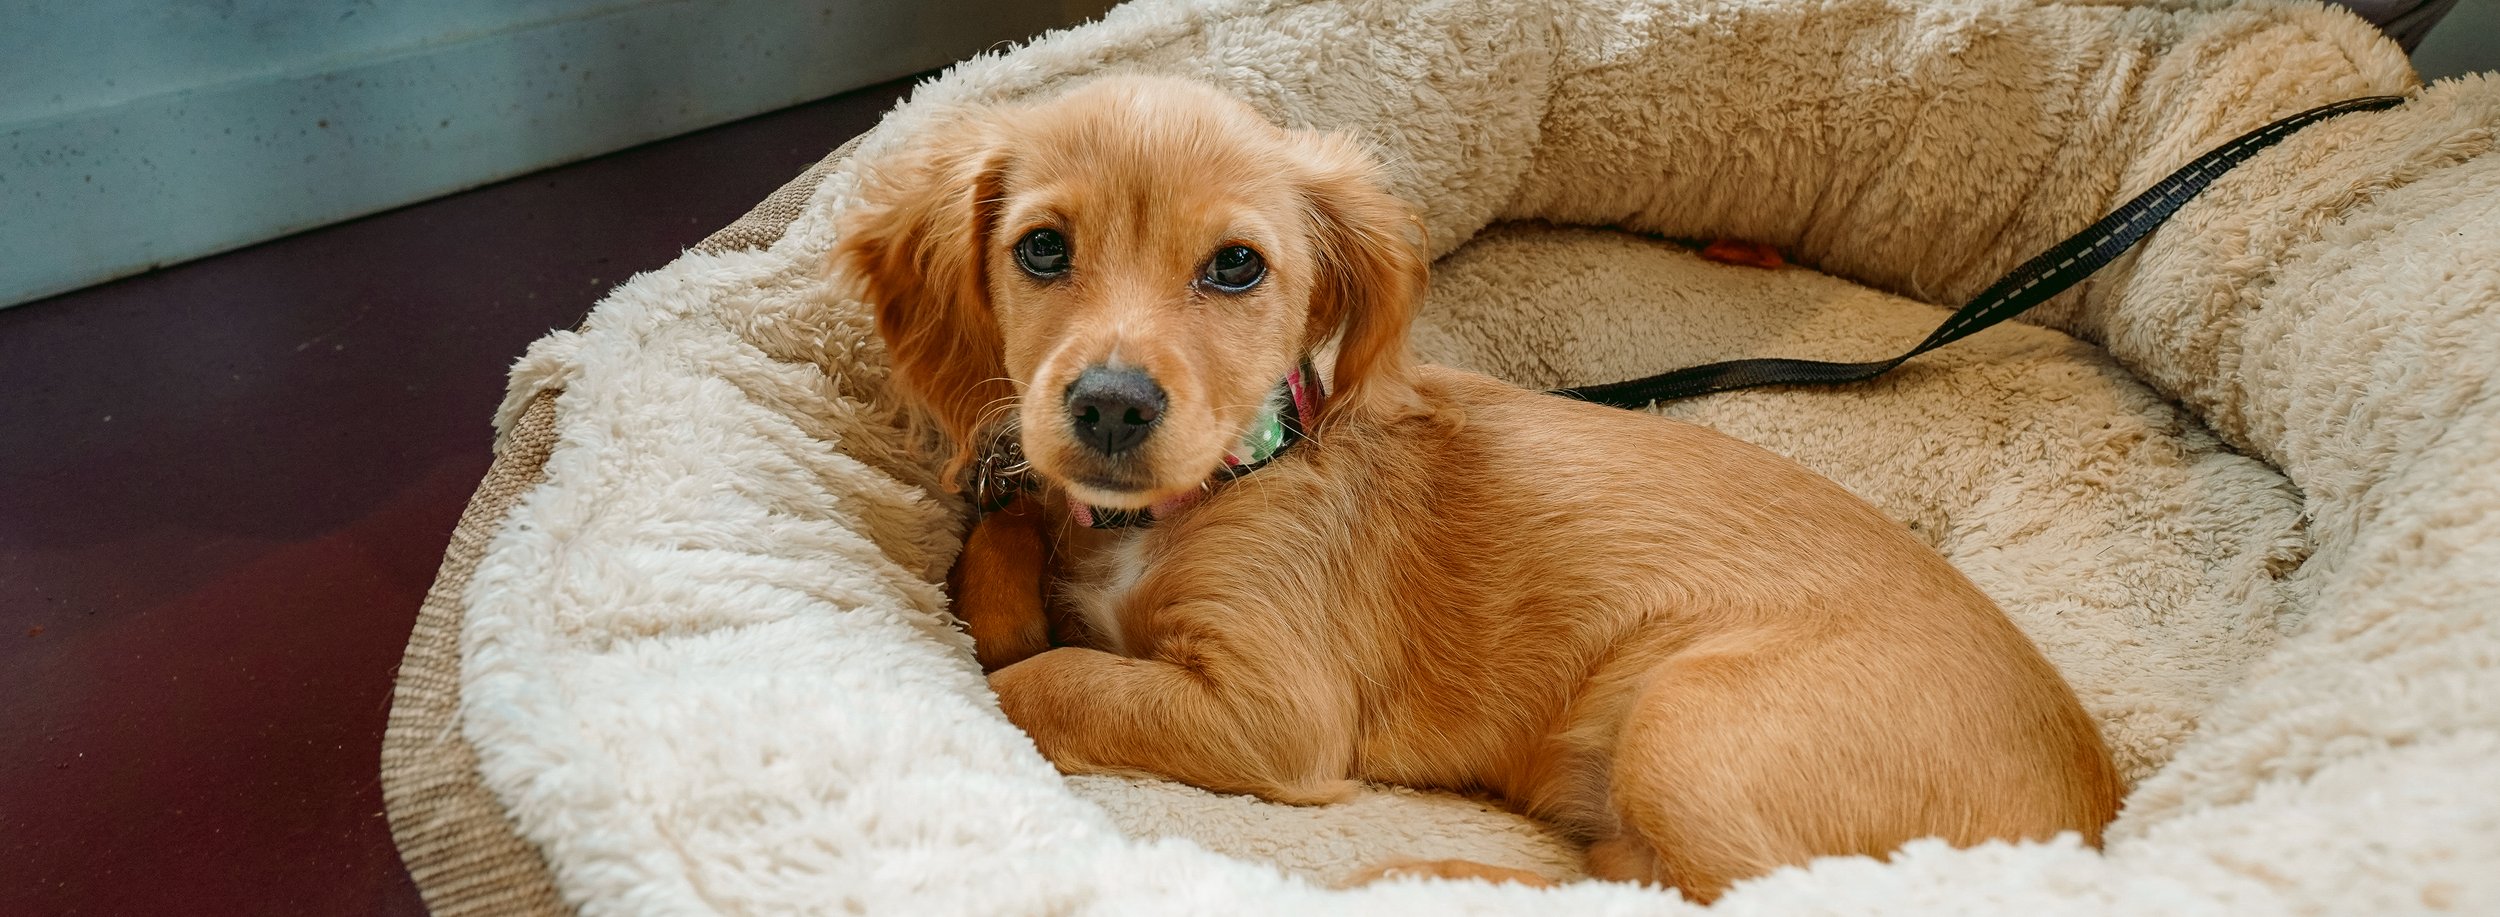
Walk up to your dog’s bed with your dog. With a treat in your hand, point at the dog bed. Once they stand on the bed, click and treat. It may be helpful to pull the bed away from the wall or out of the corner in the initial steps if you are working in a smaller space. Practice this until your dog understands that getting on the bed is part of the requested behavior.
Next, walk up to you dog’s bed with your dog and point at the bed, then signal them to “down.” When they get into the ‘down’ position, click and treat. Repeat this until your dog anticipates what you will ask for and starts to “down” on their own. This will take several sessions to develop.
Phase 2: Fade the lure and solidify a hand cue
Start your session practicing this cue exactly as you have for the past few sessions. Walk up to the bed with your dog, have a treat in your hand and point at the bed, wait for your dog to lie on the bed, then click and treat. Repeat this 5 times. Now do this again exactly the same way, but this time only pretend to put a treat in your hand. When your dog lies on the bed, click and treat. Practice this over a few sessions.
Once your dog can do this behavior quickly and consistently, start to create distance between you and the dog bed. This will need to happen very slowly initially. Start by walking with your dog toward their bed and stop one small step away from their bed. Slowly increase your distance from the bed over the next several sessions.
As you are working on distance from the dog bed, also start to work on your dog staying on the dog bed as part of this behavior. You can use a tether to introduce the concept that when you tell your dog to “place,” part of the command is to stay on that place until given the release word, “break.”
Phase 3: Teach the verbal cue
When you are able to cue your dog to go lie on their bed from a few feet away, you can start to add the verbal command. Walk toward the dog bed, say “place,” and point to your dog’s bed. Click and treat. Practice this over several sessions to solidify the response.
Phase 4: Selective reinforcement
Once your puppy is responding consistently to both your hand signal and verbal cue, you can start to only treat for the best responses. Over time, you can become more and more selective as your dog will not need such a high rate of reinforcement.


